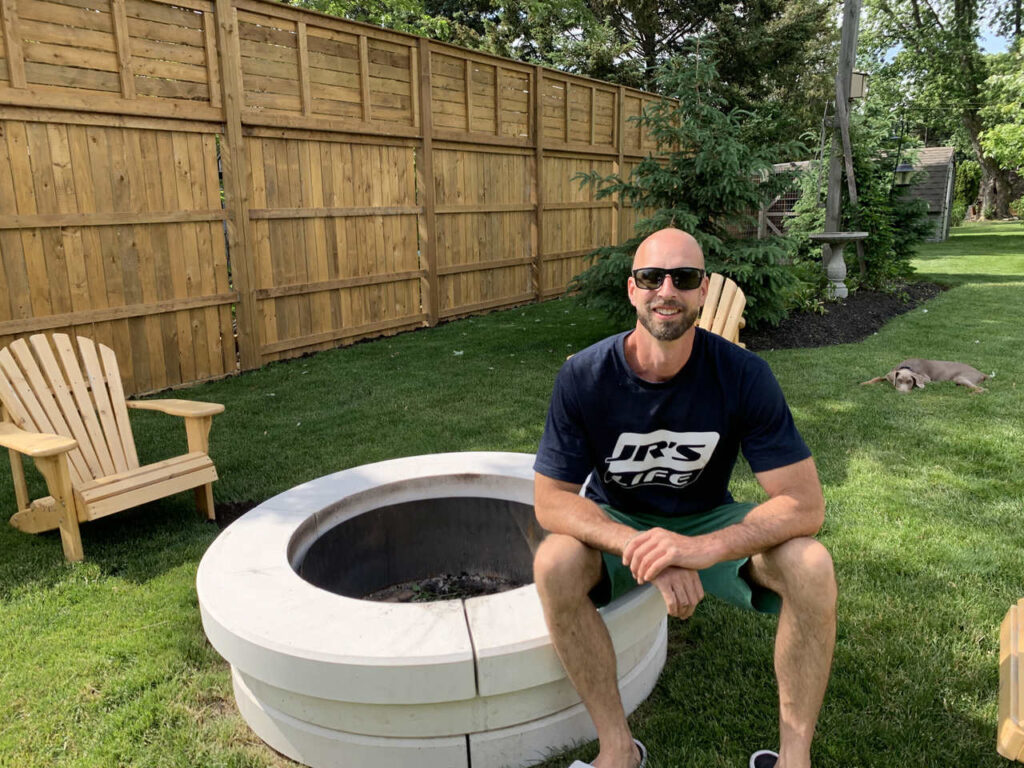
Are you looking to add a cozy and inviting atmosphere to your backyard? A smokeless fire pit might be just the thing you need!
Not only will it keep you warm on chilly evenings, but it can also be a great focal point for outdoor gatherings with family and friends.
In this article, we will provide a step-by-step guide on how to build a DIY smokeless fire pit right on the ground in your backyard. With just a few basic tools and materials, you can create a beautiful and functional addition to your outdoor space.
Materials Needed:
- Shovel
- Measuring tape
- Marking spray paint
- Paver base or gravel
- Fire pit ring or metal barrier
- Fire bricks or pavers
- Level
Step 1: Choose a Location
The first step in building a smokeless fire pit on the ground is to choose the right location. You’ll want to select an area that is at least 10 feet away from any buildings, trees, or other flammable objects. Also, ensure that the location is level and free from any obstructions like rocks or roots.
Step 2: Mark the Area
Using your measuring tape and marking spray paint, mark the perimeter of the fire pit area on the ground. For a typical fire pit, you’ll want to create a circle that is about 36 to 44 inches in diameter.
Step 3: Prepare the Ground
Use your shovel to remove any grass, weeds, or debris from the marked area. Next, fill the area with paver base or gravel to a depth of about 2 inches. This will provide a stable base for your fire pit.
Step 4: Install the Fire Pit Ring or Metal Barrier
Place the fire pit ring or metal barrier in the center of the marked area on top of the paver base or gravel. This will help contain the fire and prevent it from spreading beyond the designated area.
Step 5: Arrange the Fire Bricks or Pavers
Place the fire bricks or pavers around the inside perimeter of the fire pit ring or metal barrier. Be sure to stack them at least two layers high to ensure proper airflow and prevent heat damage to the ground.
Step 6: Level the Bricks or Pavers
Use a level to ensure that the bricks or pavers are level and even. Adjust them as necessary to ensure a secure and stable base for the fire pit.
Step 7: Enjoy Your Smokeless Fire Pit!
With your DIY smokeless fire pit now complete, it’s time to sit back and enjoy your handiwork! Add some firewood, light a match, and let the flames provide a cozy and inviting atmosphere for your backyard. Party time? Check out these magic flames!
In conclusion, building a DIY smokeless fire pit on the ground in your backyard is a great way to create a warm and inviting outdoor space. With just a few basic tools and materials, you can create a beautiful and functional addition to your backyard that you and your family can enjoy for years to come.
PROJECT CHECKLIST:
MATERIALS:
White concrete bricks purchased at local concrete centre
TOOLS:
OTHER BACKYARD FAVOURITES:
Wood Pellets for Broil King Smoker Grill
Outdoor Inflatable Hot Tub Spa with Air Jets
Adirondak Muskoka chair covers
This post and comments below may contain affiliate links, which may lead to a small commission if purchased. This comes at no extra cost to you. Thanks!
For more HOW TO content check out my YouTube 🎉 @JRSLife
Looking for DIY inspiration? Check out my DIY PLAYLIST for other fun projects.
Feeling creative? Here are some WOODWORKING PLANS to get you started.
SUBSCRIBE HERE for more great free content!
For more HOW TO content check out our YouTube 🎉 https://youtube.com/@JRSLife


